Preparation is Key
When planning an interior design project, it's important to consider its complete life cycle.
When embarking on a new interior project and having agreed on your design and materials, you'll reach the hard part: organising the project itself. This can be extremely daunting, as it involves so many aspects, from devising a work schedule, sourcing and booking skilled tradespeople, dealing with delays and changes and making sure everything is on site.
 It is easy to focus on the end result and how your new kitchen or bathroom will look, but the devil is in the detail, so effective forward-planning is essential. While it's important to achieve a fabulous, finished project, the entire process should also be as hassle-free as possible. Big or small, unless you follow some basic rules the whole project can quickly become stressful. Whether you are using independent tradespeople, undertaking tasks yourself or relying on a complete team with a project manager (something I strongly advise), it's important to understand what needs to happen when for the best results - in other words, the project's life cycle.
CREATING A SCHEDULE
Set a realistic timeline for your project and consider the order of work and how long each section will take, then ask your tradespeople to agree to this schedule. Book them in in plenty of time and keep up communication with everyone involved (a good project manager will oversee this for you).
PROCURING PRODUCTS
You can then arrange for products and materials to be delivered and checked, allowing time for any re-deliveries should they be faulty or incorrect. Make sure someone suitable is there to receive the goods and remember that appliances, units, doors, worktops, tiles and so on can take up a lot of room. They also risk being damaged if they are on site too early and it's also important to check the deadline for returns. I always use local suppliers wherever possible, those with whom I have a good working relationship and who have a proven track record.
REMOVAL AND FIRST FIX
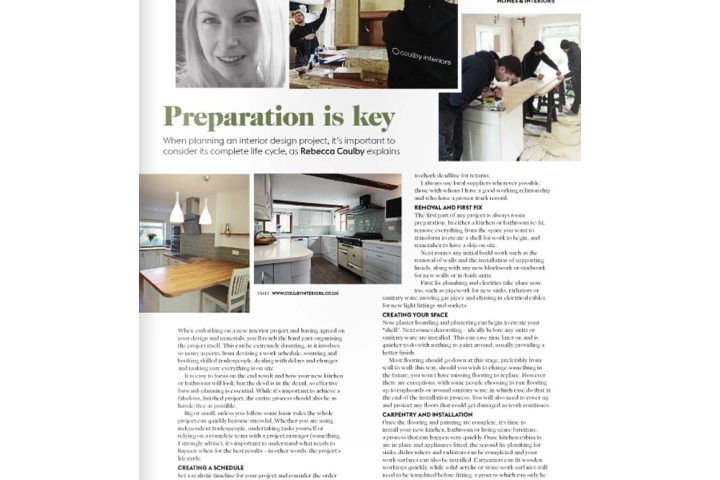
The first part of any project is always room preparation. In either a kitchen or bathroom re-fit, remove everything from the space you want to transform to create a shell for work to begin, and remember to have a skip on site. Next comes any initial build work such as the removal of walls and the installation of supporting lintels, along with any new blockwork or studwork for new walls or built in units. First fix plumbing and electrics take place now too, such as pipework and chasing in electrical cables for new light fittings and sockets.
CREATING YOUR SPACE
Now plaster boarding and plastering can begin to create your "shell". Next comes decorating - ideally before any units or sanitary ware are installed. This can save time later on and is quicker to do with nothing to paint around, usually providing a better finish. Most flooring should go down at this stage, preferably from wall to wall; this way, should you wish to change something in the future, you won't have missing flooring to replace. However, there are exceptions, with some people choosing to run flooring up to cupboards or around sanitary ware, in which case do that at the end of the installation process. You will need to cover up and protect any floors that could get damaged as work continues.
CARPENTRY AND INSTALLATION
Once the flooring and painting are complete, it's time to install your new kitchen, bathroom or living space furniture, a process that can happen very quickly. Once the kitchen cabinets are in place and the appliances fitted, the second fix plumbing for sinks, dishwashers and radiators can be completed and your work surfaces can also be installed. Carpenters can fit wooden worktops quickly, while solid acrylic or stone work surfaces will need to be templated before fitting, a process which can only be done once the units are in place and which can take about two working weeks. Then it's onto to the tiling or fitting glass splash backs, which will also need templating.
FINISHING TOUCHES
These include any remaining second fix electrics - fitting socket covers and lighting - as well as any finishing touches to painting. Check everything for snagging and then move on to the exciting bit - filling your lovely new space with accessories and furniture. With all the hard work done, you can sit back and enjoy your wonderful new interior.